

Understanding how to check circuit board components is essential for anyone involved in electronics, whether they’re a hobbyist or a professional technician. This process not only helps in troubleshooting issues but also ensures that devices function reliably and efficiently. By mastering the techniques outlined in this article, readers will gain the confidence to diagnose problems and maintain their electronic equipment effectively.
Understanding Circuit Board Components
Circuit boards consist of a range of components, each playing a vital role in electronic functionality. By recognizing these components, one can better assess their condition and functionality.
Types of Components
- Resistors: Resistors limit electrical current flow, ensuring components receive the appropriate voltage. They are crucial for controlling signal levels in circuits.
- Capacitors: Capacitors store and release electrical energy. They smooth out fluctuations in power supply, providing stability to the circuit.
- Diodes: Diodes allow current to flow in one direction only, preventing damage from reverse polarity. They are essential in rectifying current in power supplies.
- Transistors: Transistors amplify electrical signals and act as switches in circuits. They enable signal control and switching functions critical for processing information.
- Integrated Circuits (ICs): ICs combine multiple components into a single unit, enhancing functionality and reducing the space needed on a board. They handle various tasks, from signal processing to data storage.
- Inductors: Inductors store energy in a magnetic field when current flows through them. They play a key role in filtering and tuning circuits.
- Electrical Control: Components like transistors and resistors regulate voltage and current, ensuring proper device operation.
- Energy Storage: Capacitors and inductors temporarily store energy, stabilizing power supplies and smoothing out voltage spikes.
- Signal Rectification: Diodes convert alternating current (AC) to direct current (DC), crucial for powering most electronic devices.
- Amplification: Transistors amplify weak electrical signals, enhancing overall circuit performance for better signal processing.
- Integration: Integrated circuits streamline circuit design by incorporating multiple functions in one component, simplifying repairs and upgrades.
- Filtering Signals: Inductors and capacitors filter unwanted frequencies, allowing only desired signals to pass through and enhancing clarity in communications.
Tools Needed for Checking Components
Checking components on a circuit board requires specific tools to ensure accurate diagnostics. The right tools can improve the efficiency and effectiveness of troubleshooting efforts.
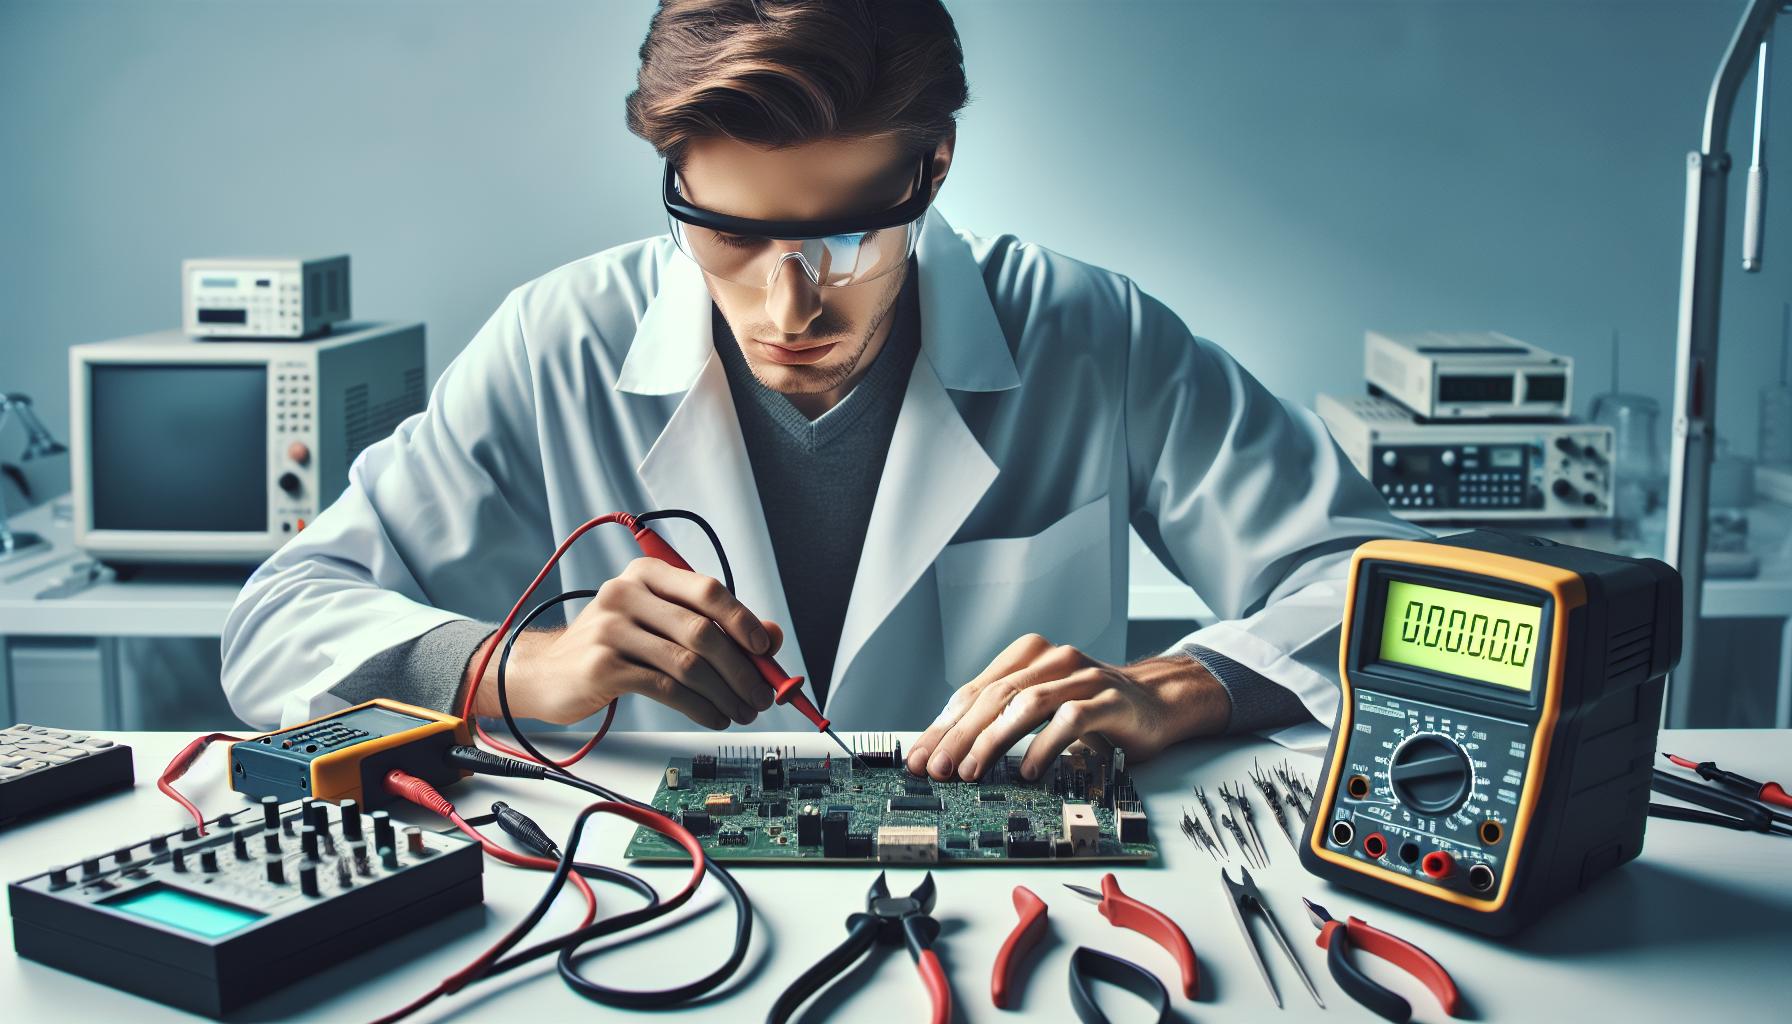
Multimeter
A multimeter is essential for measuring electrical values. It allows users to check voltage, current, and resistance across components. Digital multimeters provide precise readouts and often include features like data hold and auto-ranging. Regularly using a multimeter can identify faulty resistors, short circuits, or open connections.
Oscilloscope
An oscilloscope provides a visual representation of electrical signals. It displays waveforms and aids in analyzing the timing and shape of signals within a circuit. This tool is critical for troubleshooting timing issues and signal integrity problems. With a good oscilloscope, technicians can observe transient signals that multimeters might miss.
Other Essential Tools
Additional tools can improve the component checking process.
- Soldering Iron: Necessary for making adjustments or replacing faulty components.
- Wire Cutters/Strippers: Assist in preparing and modifying connections.
- Tweezers: Help handle small components or wires.
- Magnifying Glass: Useful for inspecting circuit board details.
These tools support efficient handling and analysis when checking circuit board components.
Step-by-Step Guide on How to Check Components on a Circuit Board
Checking components on a circuit board involves a systematic approach to identify issues effectively. Follow these steps.
Preparing the Circuit Board
Ensure the circuit board is powered off and disconnected from any power source. Remove any obstructions, such as screws or covers, to access the board. Clean the surface with a brush or compressed air to eliminate dust and debris. This preparation creates a conducive environment for accurate testing.
Measuring Resistance
Use a multimeter set to the resistance (Ω) measurement mode. Connect the multimeter probes to either side of the component being tested. For resistors, compare the measured value to the color-coded value on the component. Significant deviations indicate potential failures. Repeat this process for other components like thermistors or potentiometers as necessary.
Testing Voltage
Set the multimeter to the voltage (V) measurement mode. Carefully connect the probes to the points of interest while the circuit board is powered on. Take readings at various points, such as supply voltages and across components. Recorded values should align with the specified voltage levels in the circuit diagram. Discrepancies suggest issues with power delivery or faulty components.
Checking Continuity
To check continuity, switch the multimeter to the continuity test mode, indicated by a diode symbol or sound icon. Touch the probes to two ends of the path being tested. A tone signifies a good connection. If no sound is produced, the connection is broken. This method verifies traces and solder joints, ensuring a complete circuit for proper operation.
Common Issues and Troubleshooting Techniques
Inspecting components on a circuit board often reveals common issues. Addressing these problems effectively demands attention to detail and proper techniques.
Identifying Faulty Components
Identifying faulty components requires a systematic approach. Check for visible signs, like burnt areas or broken parts. Use a multimeter to measure resistance; a reading significantly outside expected values indicates a problem. Test diodes to ensure current flows correctly; reverse bias should show no conductivity. For capacitors, ensure they hold charge; a rapid discharge indicates failure. Verify transistor function by checking for proper gain and switching capabilities. By combining visual inspection with multimeter testing, users can confidently pinpoint defective components.
Repairing vs. Replacing Components
Repairing components may be feasible but requires knowledge and skill. For components like resistors and capacitors, soldering may restore functionality if they are not severely damaged. However, replacing components often provides a more reliable long-term solution. Ensure replacements match original specifications for optimal performance. For integrated circuits, consider replacing instead of attempting repairs, as repairing these can complicate functionality. Evaluate the cost between repair and replacement for informed decision-making.
Conclusion
Mastering the techniques for checking components on a circuit board is invaluable for anyone involved in electronics. This knowledge not only aids in troubleshooting but also enhances the reliability of devices. With the right tools and a systematic approach, users can confidently diagnose and address issues that arise.
Understanding the role of each component allows for more effective maintenance and repair strategies. Whether opting for repairs or replacements, making informed decisions leads to better long-term outcomes. By applying the insights gained from this article, individuals can ensure their electronic equipment operates at peak performance and longevity.
Frequently Asked Questions
What is the importance of checking circuit board components?
Checking circuit board components is vital for both hobbyists and professionals. It helps diagnose issues, ensures devices function reliably, and maintains optimal performance. The ability to troubleshoot problems empowers users to repair and manage their electronic equipment effectively.
What are the main components found on a circuit board?
Key components include resistors, capacitors, diodes, transistors, integrated circuits, and inductors. Each serves unique functions, like limiting current, storing energy, rectifying signals, amplifying outputs, and integrating multiple functions, all essential for device performance.
What tools are needed for checking circuit board components?
Essential tools include a multimeter for measuring electrical values, an oscilloscope for analyzing signals, a soldering iron for adjustments, wire cutters/strippers for modifying connections, tweezers for handling small parts, and a magnifying glass for inspecting details on the circuit board.
How do you check components on a circuit board?
Start by powering off the circuit board, clearing obstructions, and cleaning the surface. Use a multimeter to measure resistance, test voltage with the board powered on, and check continuity to verify connections. This systematic approach identifies issues effectively.
What common issues might arise when inspecting circuit board components?
Common issues include visual signs of damage, such as burnt components or oxidation. Users may encounter unclear readings on a multimeter. A systematic inspection and testing process can help pinpoint faulty components and determine whether to repair or replace them.
Should I repair or replace faulty components on a circuit board?
It often depends on the specific component and situation. While some components can be repaired, replacement generally offers a more reliable long-term solution. Always ensure replacements match original specifications and consider cost-effectiveness before deciding.